SHT30 ARDUINO GUIDE · WIRING, CODE AND FAST DEBUGGING
SHT30 Arduino: Wiring, 0x44/0x45, Code & Fixes
Connect the SHT30 to Arduino over I2C, scan for 0x44 or 0x45, then read temperature and humidity with a compatible library. If the sensor is detected but returns NaN, check power, pull-ups and the physical bus before rewriting the code.
DIRECT ANSWER
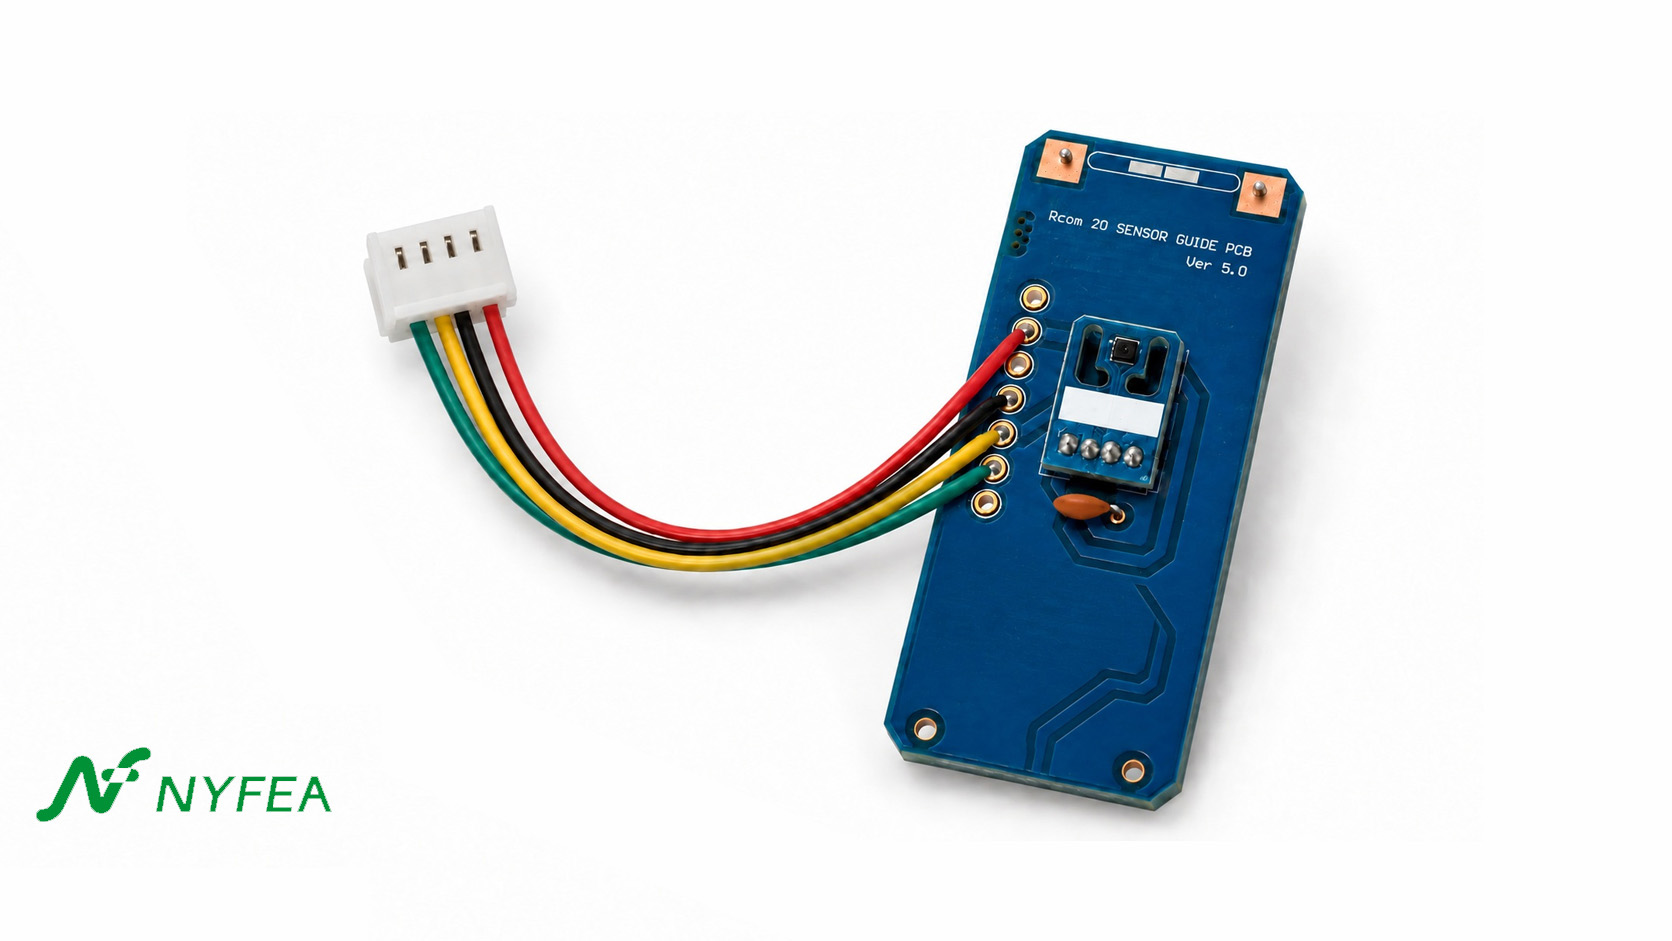
On an Arduino Uno, connect SHT30 SDA to A4, SCL to A5, share ground, and start with address 0x44. Use 0x45 only when the module is configured for the alternate address. Run an I2C scan first if initialization fails.
SHT30 Arduino quick reference
| Item | Use first |
|---|---|
| Default I2C address | 0x44 |
| Alternate I2C address | 0x45 |
| Arduino Uno | SDA → A4, SCL → A5 |
| Common ESP32 pins | SDA → GPIO21, SCL → GPIO22 |
| Common ESP8266 pins | SDA → GPIO4, SCL → GPIO5 |
| Common library | Adafruit SHT31 |
| Typical pull-up starting point | 4.7 kΩ, after checking existing module pull-ups |
| Local decoupling | 100 nF close to the sensor |
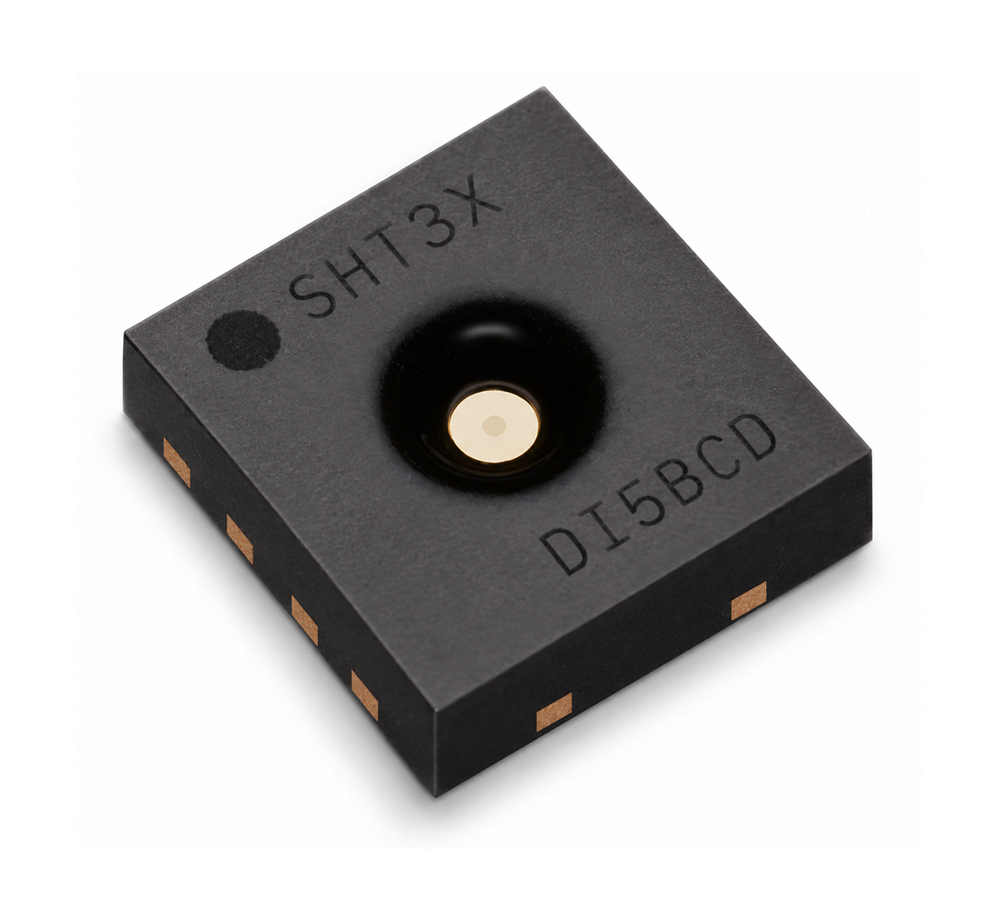
SHT30-DIS-BThe SHT3x humidity sensor series consists of a low-cost version with the SHT30 humidity sensor, a standard version with the SHT31 humidity sensor, and a high-end version with the SHT35 humidity sensor |
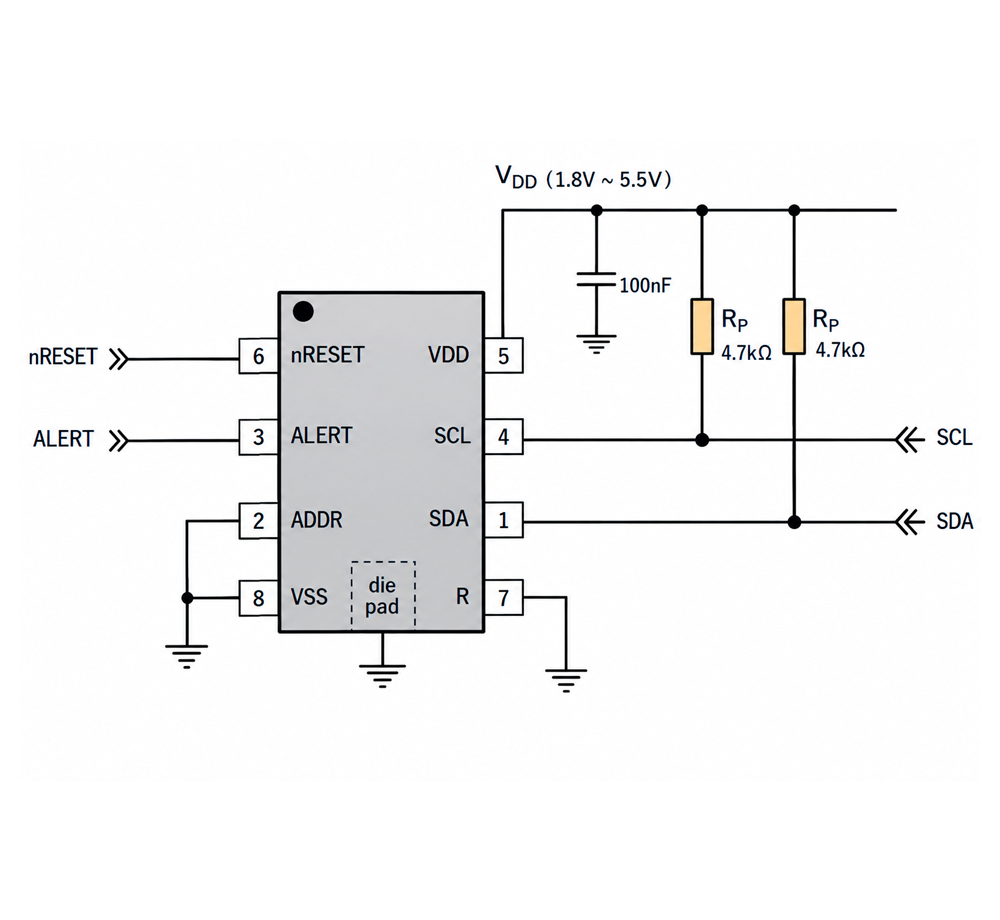
Serial Clock and Serial Data (SCL, SDA)SCL is used to synchronize the communication between microcontroller and the sensor. The clock frequency can be freely chosen between 0 to 1000 kHz. Commands with clock stretching according to I2C Standard11 are supported.). |
1. How do you wire an SHT30 to Arduino?
A digital SHT30 module needs four connections: supply, ground, SDA and SCL. Confirm that the board is an I2C version before using this guide; analog modules with separate temperature and humidity voltage outputs require different code.
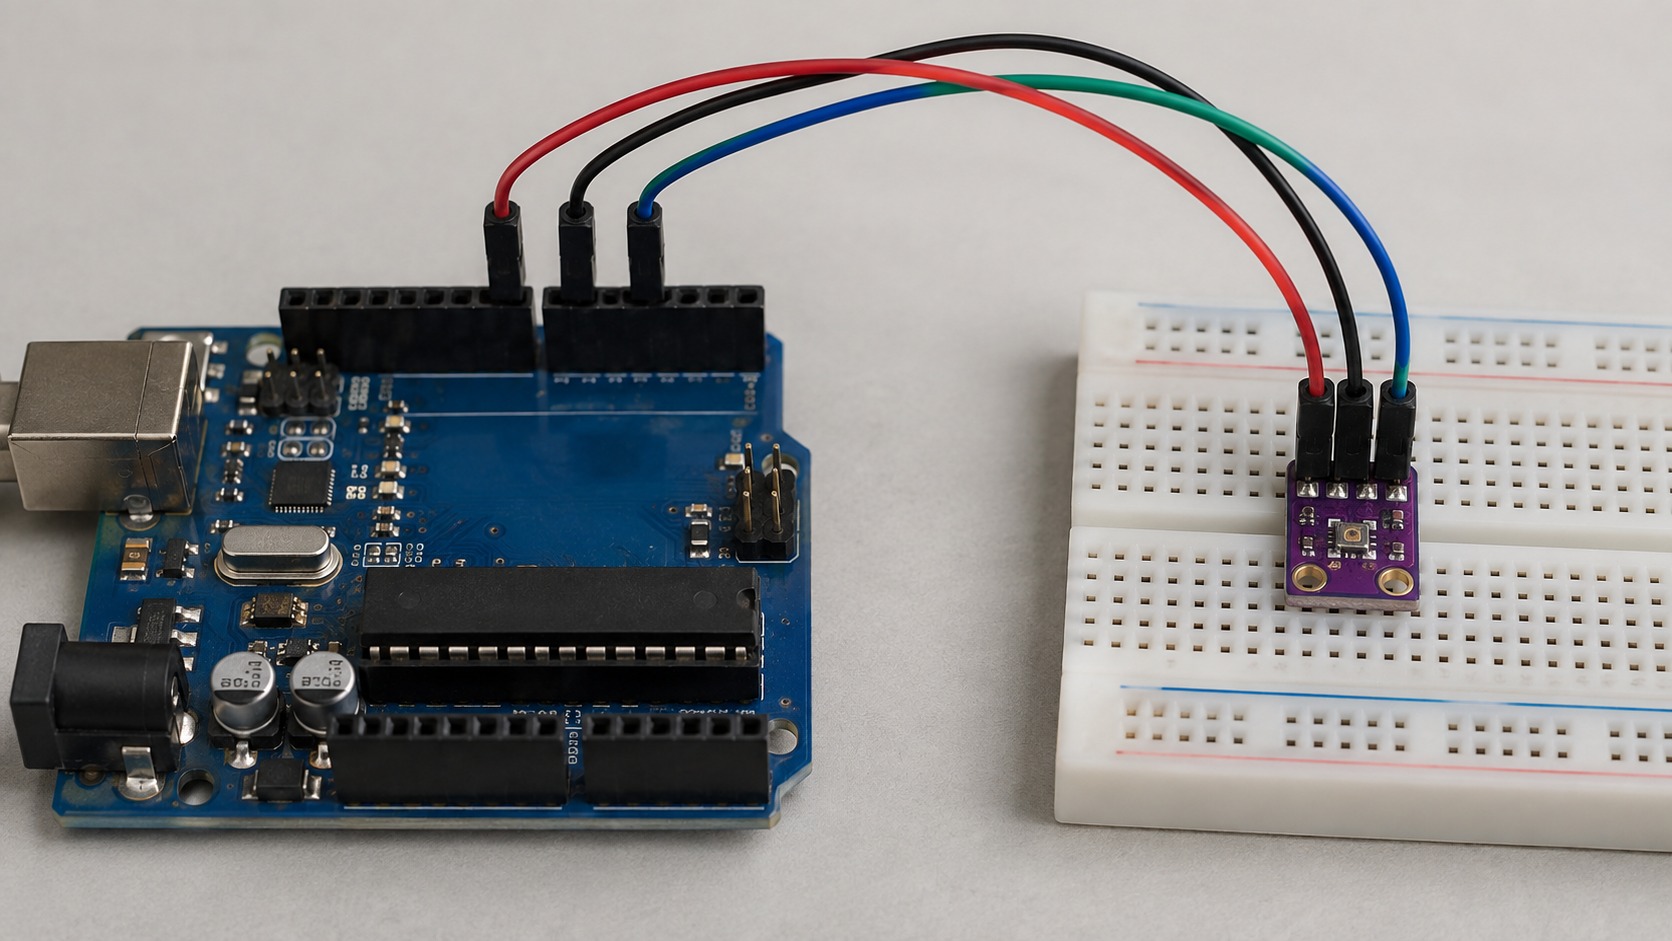
| SHT30 pin | Arduino Uno | ESP32 typical | ESP8266 typical |
|---|---|---|---|
| VDD / VIN | Module-approved supply | 3.3 V | 3.3 V |
| GND | GND | GND | GND |
| SDA | A4 | GPIO21 | GPIO4 / D2 |
| SCL | A5 | GPIO22 | GPIO5 / D1 |
ESP32 and ESP8266 boards can route I2C to other suitable GPIO pins. Use the pin assignment in your board definition when it differs from the common mapping above.
2. How do you find the SHT30 I2C address?
The SHT30-DIS uses the 7-bit I2C address 0x44 when ADDR is low and 0x45 when ADDR is high, according to the Sensirion SHT3x-DIS datasheet. Most breakout boards are fixed at 0x44.
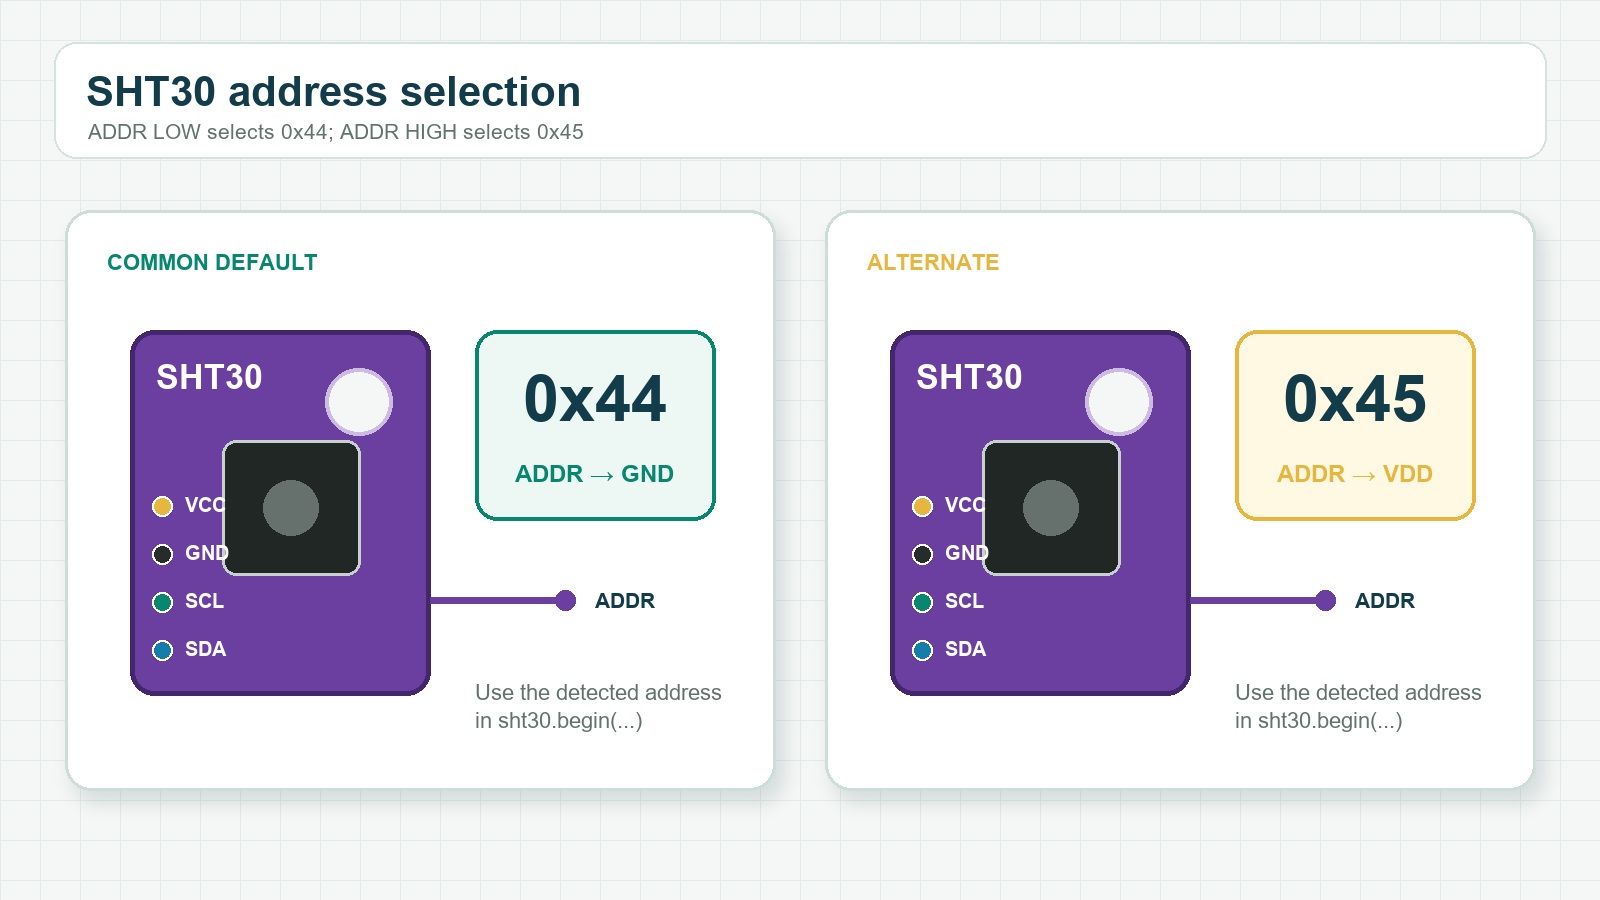
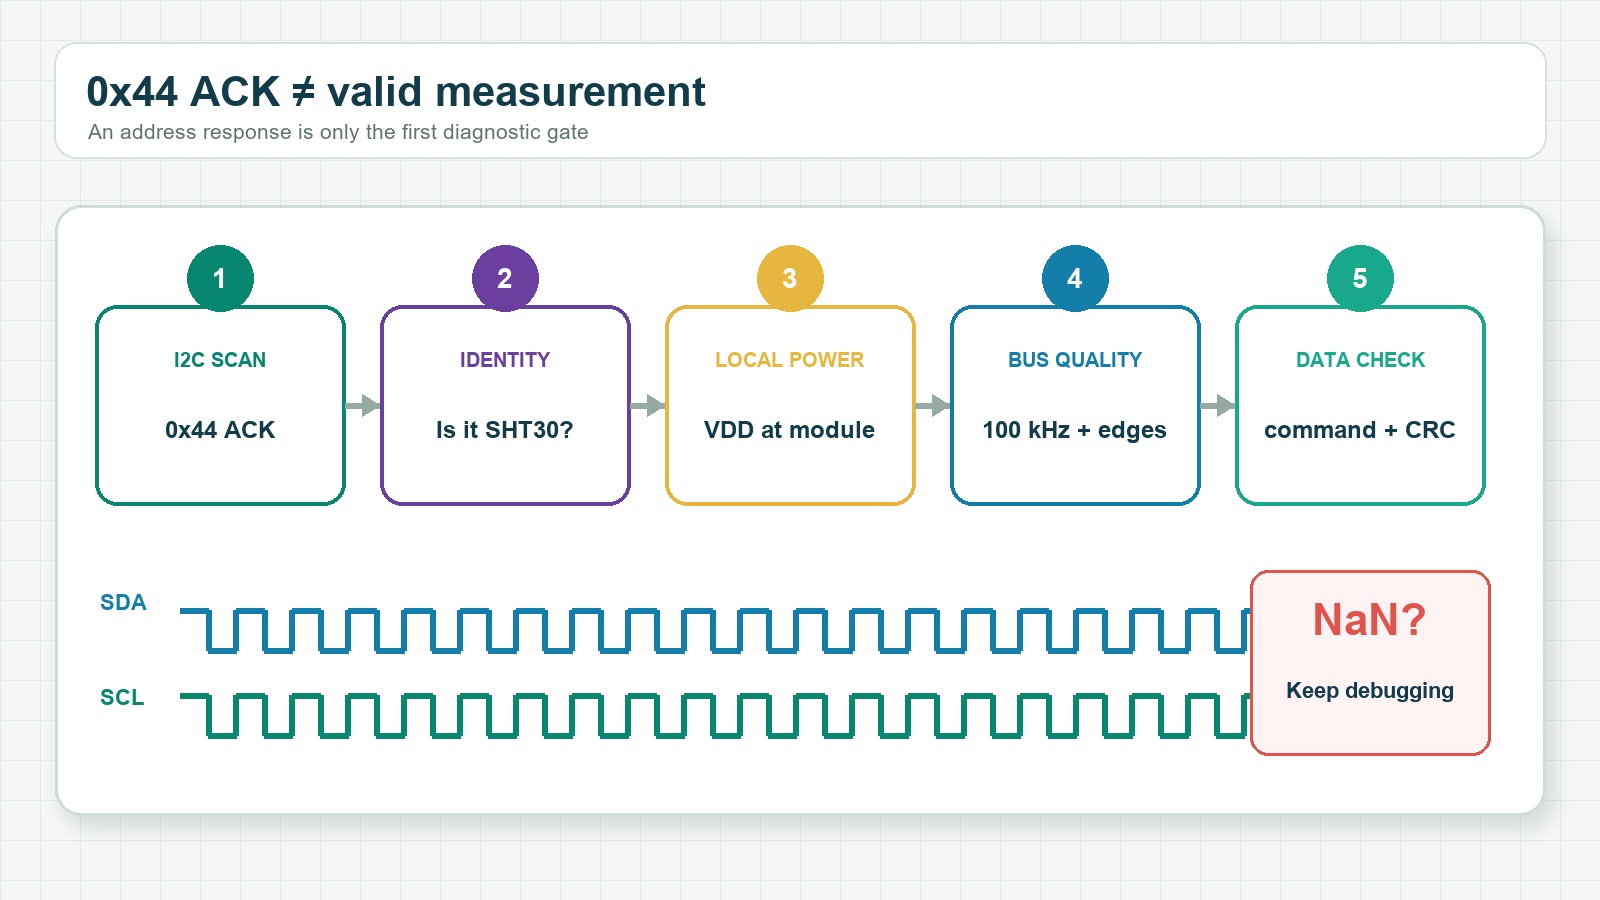
Run a scanner before changing libraries. An address acknowledgement proves that a device answered, but it does not prove that measurements or cyclic redundancy check (CRC) data are valid.
View Arduino I2C scanner
#include <Wire.h>

void setup() {
  Serial.begin(115200);
  Wire.begin();
}

void loop() {
  byte count = 0;
  for (byte address = 1; address < 127; address++) {
    Wire.beginTransmission(address);
    if (Wire.endTransmission() == 0) {
      Serial.print("I2C device: 0x");
      if (address < 16) Serial.print('0');
      Serial.println(address, HEX);
      count++;
    }
  }
  if (count == 0) Serial.println("No I2C devices found");
  delay(3000);
}
3. How do you read an SHT30 with Arduino?
The Adafruit SHT31 library is a common Arduino option for compatible SHT30 devices because the parts share the SHT3x command family. Install the library and its required dependencies through Arduino Library Manager.
View complete SHT30 Arduino example
#include <Wire.h>
#include <Adafruit_SHT31.h>

Adafruit_SHT31 sht30 = Adafruit_SHT31();

void setup() {
  Serial.begin(115200);
  Wire.begin();

  if (!sht30.begin(0x44)) {
    Serial.println("SHT30 not found");
    while (1) delay(10);
  }
}

void loop() {
  float temperature = sht30.readTemperature();
  float humidity = sht30.readHumidity();

  if (isnan(temperature) || isnan(humidity)) {
    Serial.println("Measurement failed");
  } else {
    Serial.print("Temperature: ");
    Serial.print(temperature, 1);
    Serial.print(" °C  Humidity: ");
    Serial.print(humidity, 1);
    Serial.println(" %RH");
  }
  delay(2000);
}
If the scanner reports 0x45, change only the initialization address to sht30.begin(0x45).
4. Why is the SHT30 not detected or returning NaN?
Use the scan result to split the fault. No address points to power, wiring or pull-ups. An address with failed measurements points to device identity, command handling, supply noise or signal integrity.
| Symptom | Check first | Next action |
|---|---|---|
| No I2C address | VDD/GND, SDA/SCL order, common ground | Measure voltage at the sensor, not only at the controller |
| 0x44 or 0x45 appears, but initialization fails | Device identity and selected address | Try the detected address and verify the actual IC |
Readings return NaN | Supply noise, pull-ups and bus timing | Reduce I2C to 100 kHz and test the sensor alone |
| Works alone but not with an OLED or RTC | Parallel pull-ups and bus capacitance | Reconnect devices one at a time |
| Works briefly, then fails | Connector quality and local decoupling | Inspect SDA/SCL edges and supply stability |
Do not treat every NaN as a library problem. A marginal I2C bus can acknowledge an address but still corrupt the measurement transaction.
5. What electrical checks matter most?
Check the pull-up network
I2C requires pull-ups on SDA and SCL. A common starting value is 4.7 kΩ, but multiple breakout boards place resistors in parallel. Two 4.7 kΩ pull-ups in parallel produce about 2.35 kΩ.
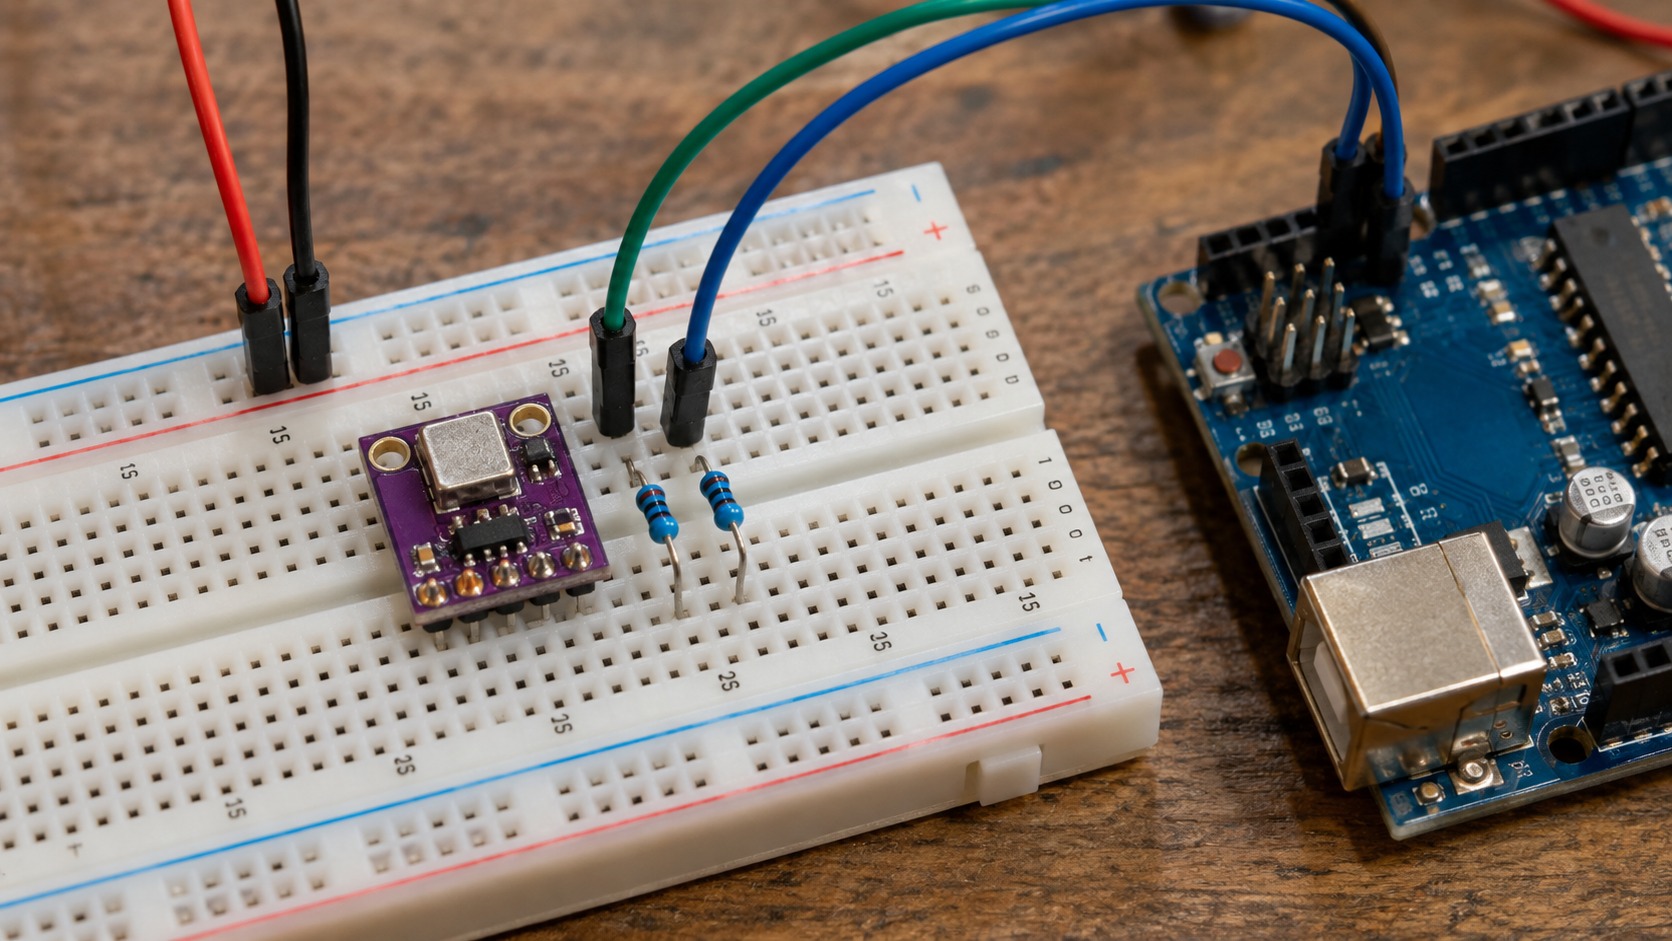
Place 100 nF near the sensor
The Sensirion SHT3x-DIS datasheet specifies a 100 nF ceramic capacitor between VDD and GND, placed as close to the sensor as possible. Keep the VDD-capacitor-GND loop short.
Check the module before using 5 V
The SHT30-DIS sensor supports a 2.15–5.5 V supply range, but the breakout board controls the interface conditions. Check its regulator, level shifting and SDA/SCL pull-up voltage before connecting it to a 5 V controller.
6. Why can SHT30 temperature read too high?
The SHT30 measures the temperature at its physical location. Heat from an MCU, Wi-Fi system-on-chip, regulator, DC/DC converter, MOSFET, LED or high-current trace can raise the reading even when communication is correct.
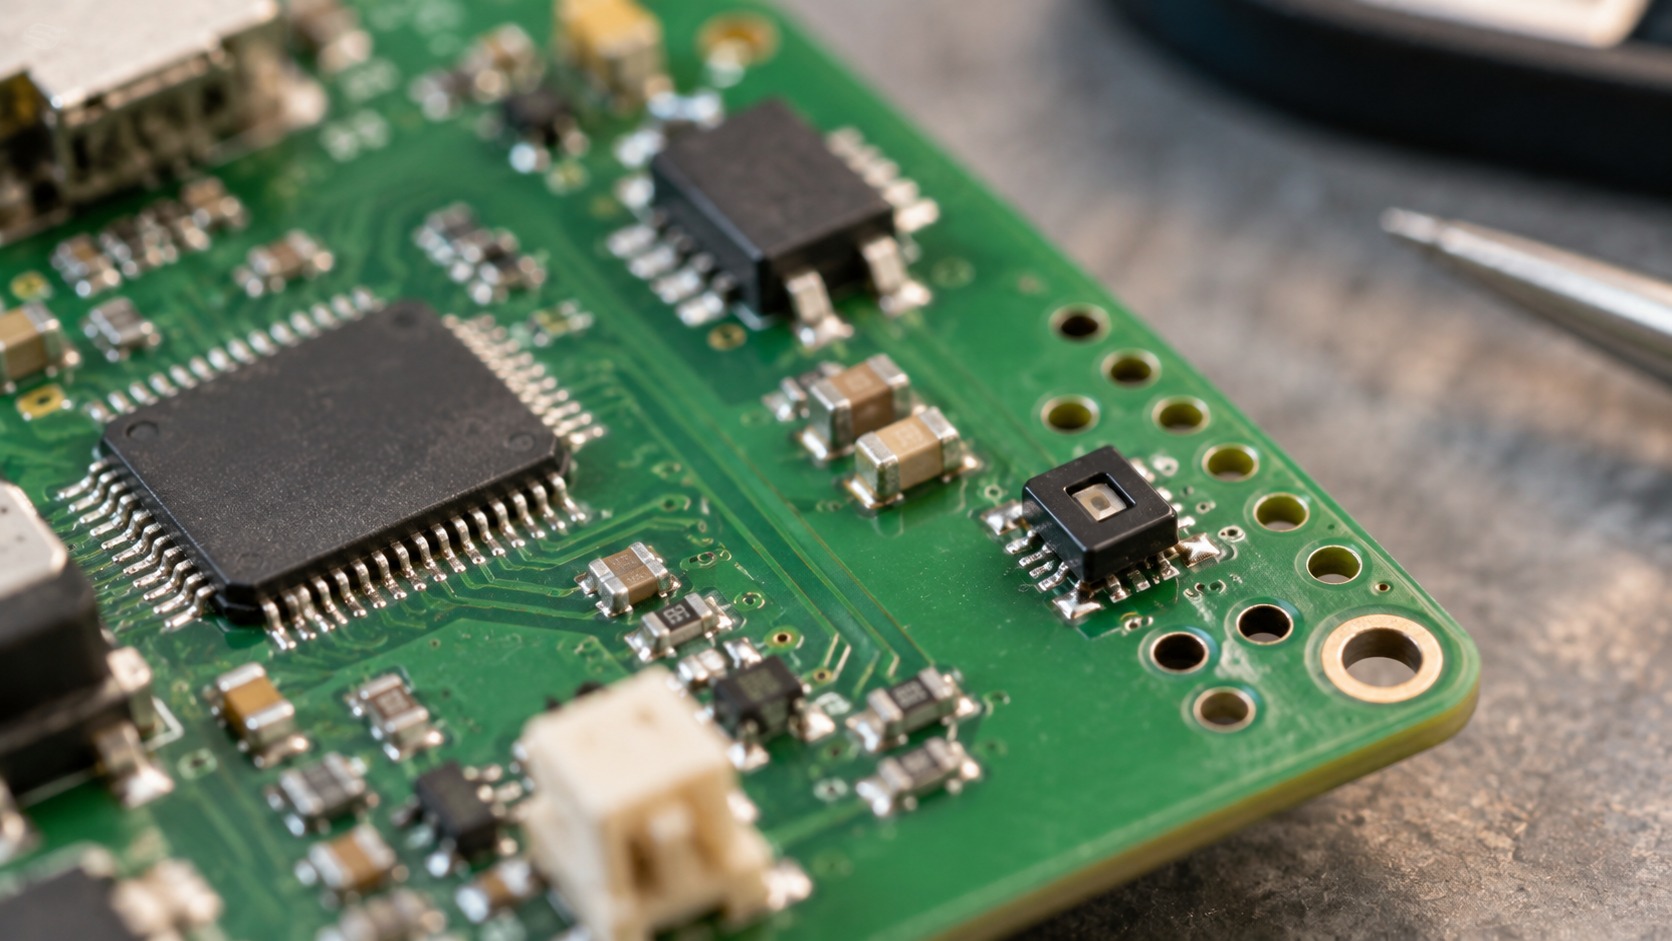
Place the sensor near a ventilated board edge and away from large copper areas connected to hot components. If readings stay high, compare normal operation, reduced-power operation and a temporarily isolated sensor position.
For production-focused design considerations, SHT30 low-humidity and reflow engineering guide.
7. SHT30 Arduino FAQ
What is the default SHT30 I2C address?
The SHT30-DIS commonly uses 0x44. It can use 0x45 when the hardware supports alternate address selection.
Which Arduino library works with SHT30?
The Adafruit SHT31 library is commonly used with compatible SHT30 devices because both belong to the SHT3x family.
Why does the scanner find 0x44 but the sensor still fail?
An I2C acknowledgement confirms only that a device answered. It does not confirm valid measurement commands, CRC data or supply integrity.
Does SHT30 need external pull-up resistors?
The I2C bus needs pull-ups, but many modules already include them. Measure or inspect the complete pull-up network before adding more resistors.
Can two SHT30 sensors share one I2C bus?
Yes, when one device uses 0x44 and the other uses 0x45. Use an I2C multiplexer if the modules cannot expose different addresses.
What if the module has T and RH analog outputs?
The I2C wiring and code in this guide do not apply. Read the analog voltages and use the transfer function specified for that exact module.
The shortest reliable setup path
- Confirm that the module is a digital I2C SHT30.
- Connect power, ground, SDA and SCL.
- Scan for 0x44 or 0x45.
- Run the short library example.
- If measurement fails after detection, check supply noise, pull-ups and bus timing.
SHT30, SHT31 and SHT3x product names are identifiers or trademarks of their respective owners. NYFEA and FHT30 are independent and are not affiliated with, endorsed by, or sponsored by those owners. References are provided for engineering identification and comparison.
Supporting technical sources
- Sensirion SHT3x-DIS datasheet, Version 7, December 2022 — addresses, supply range, decoupling and I2C electrical guidance.
- Adafruit SHT31-D Arduino wiring and code guide — Arduino library setup and example workflow.
Evaluate NYFEA FHT30 for your design
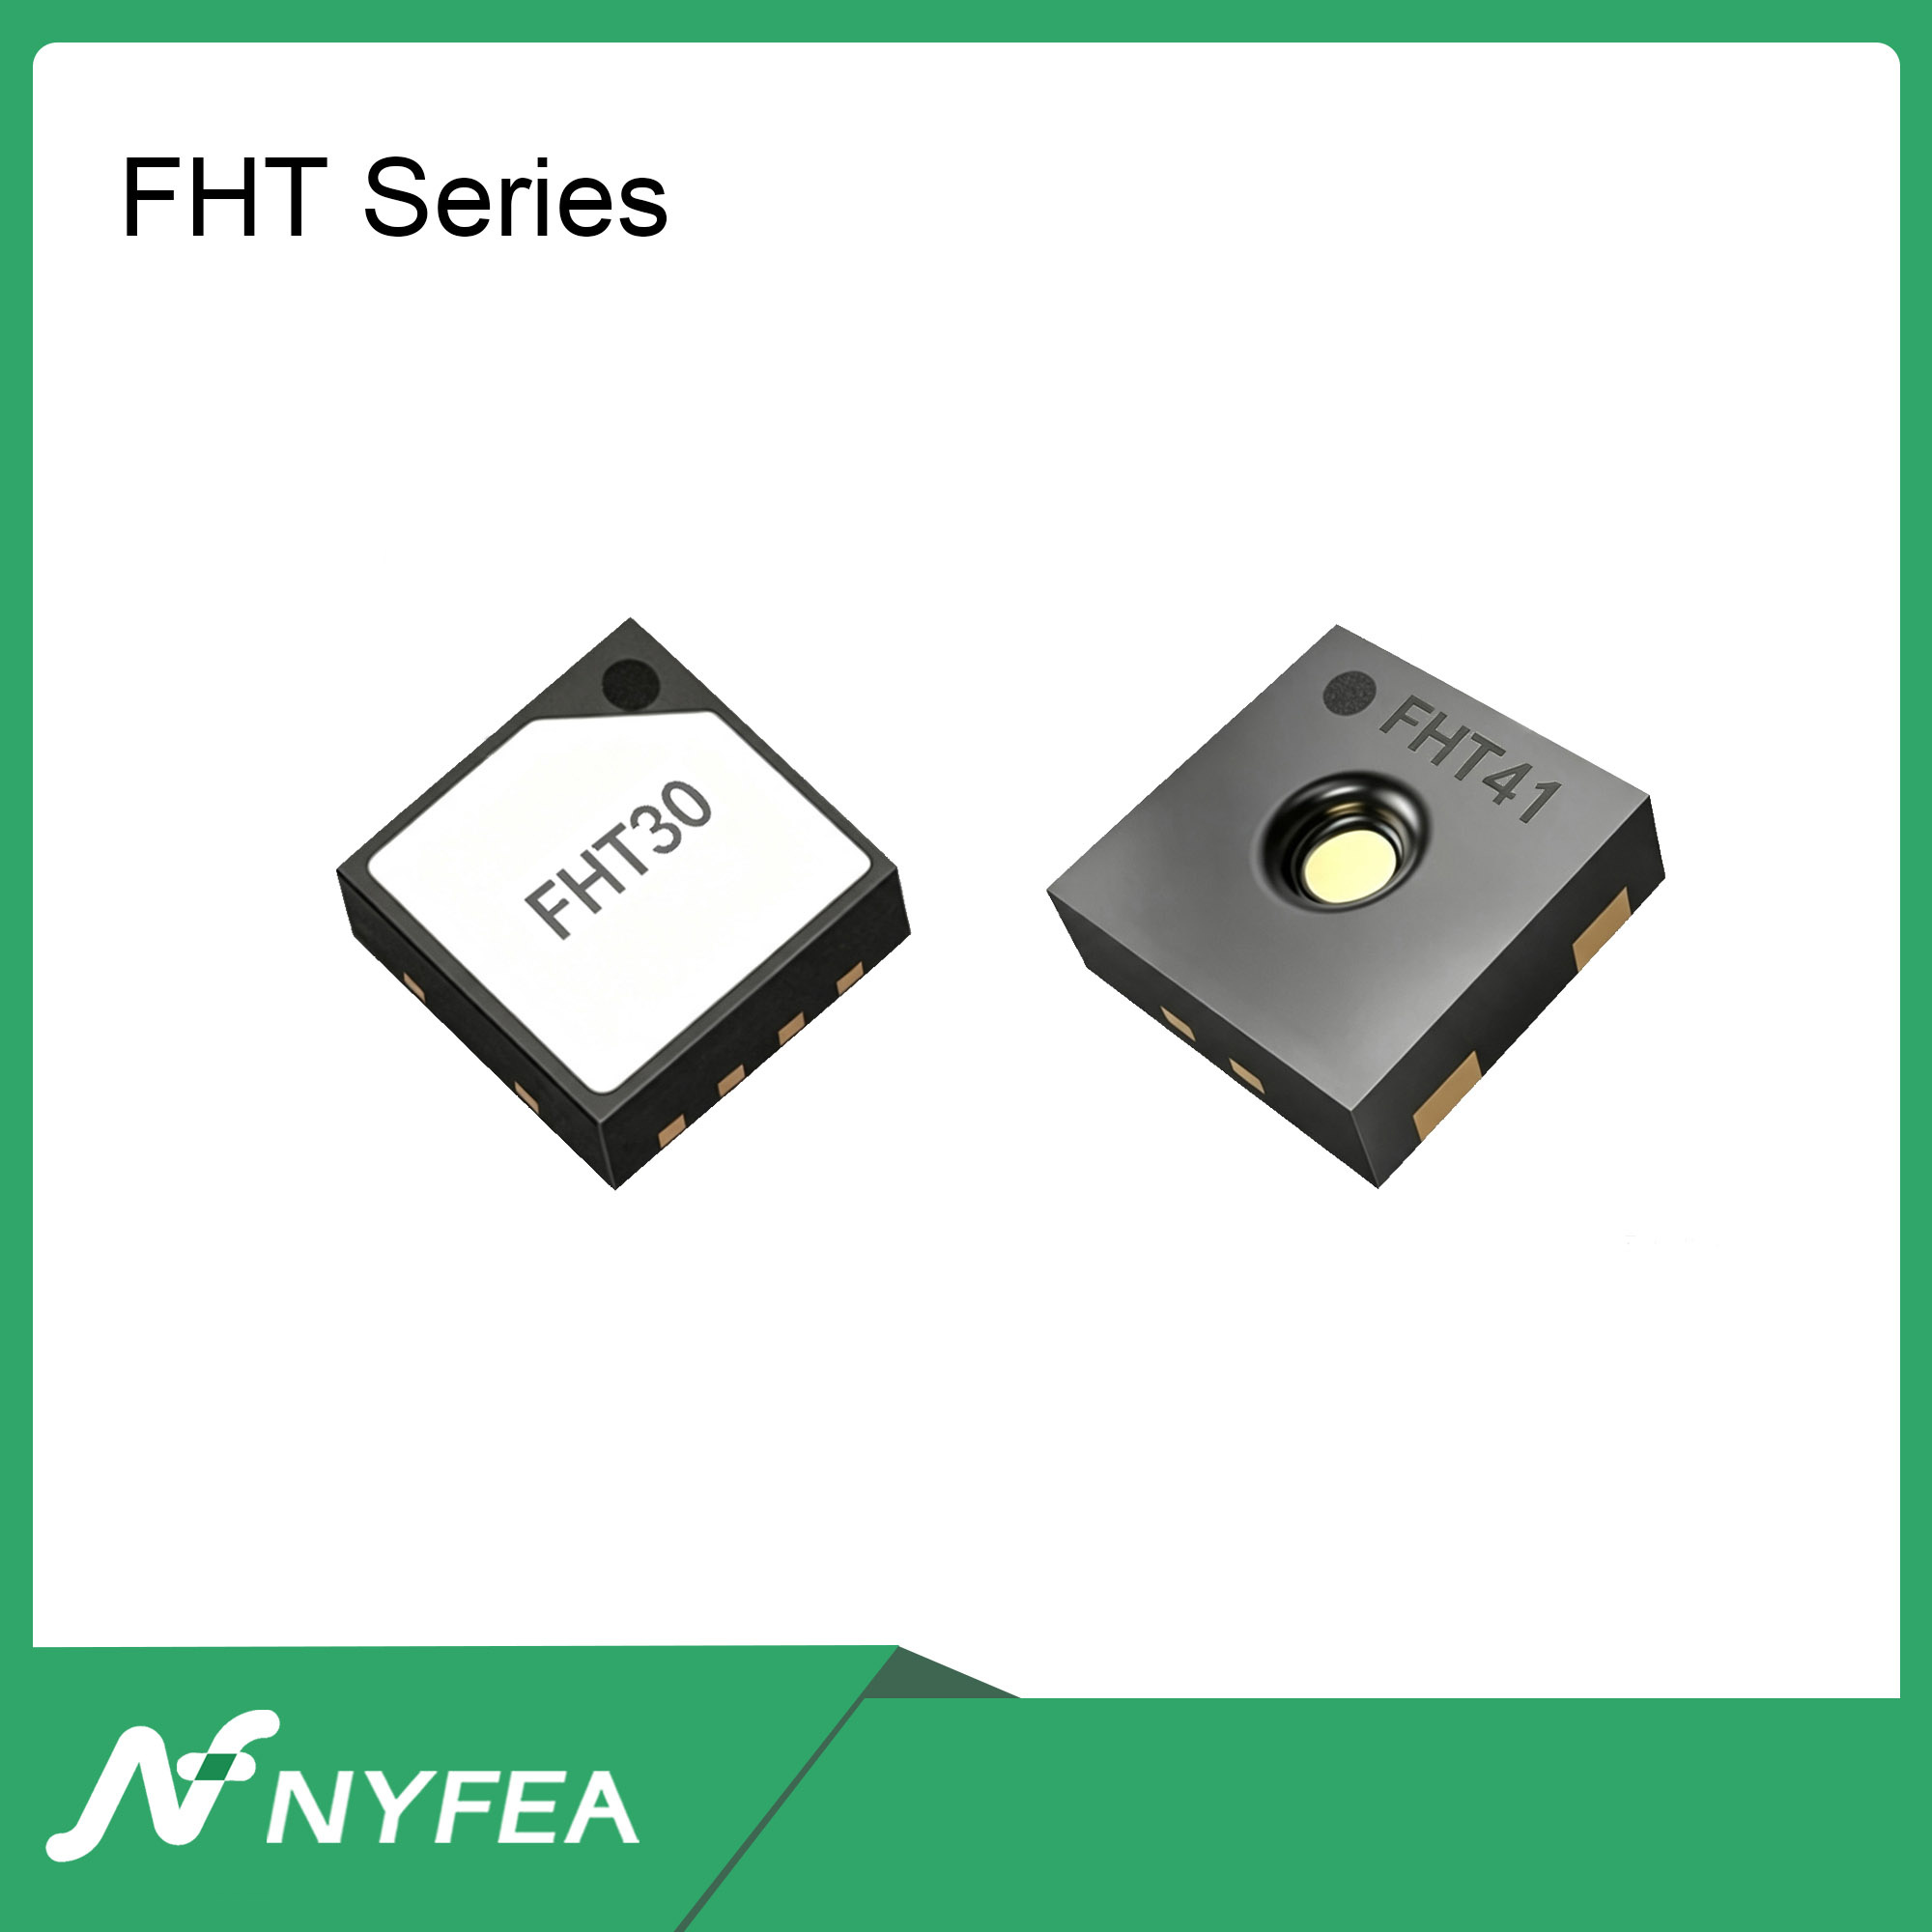
NYFEA FHT30 is a candidate for evaluation in SHT30-based designs. Confirm the controlled datasheets and validate the finished design before production release.
View FHT30 engineering data Browse NYFEA temperature and humidity sensors Request technical support